 The riding part of the Kip Fladland Training Clinic that I went to a few weeks ago seemed to go so much faster than the groundwork part. Maybe it was because I’m not used to that much walking, I don’t know, but I was sure tired out! The morning’s work was good for us, as I think it gave us a really good focus for the riding part to follow.
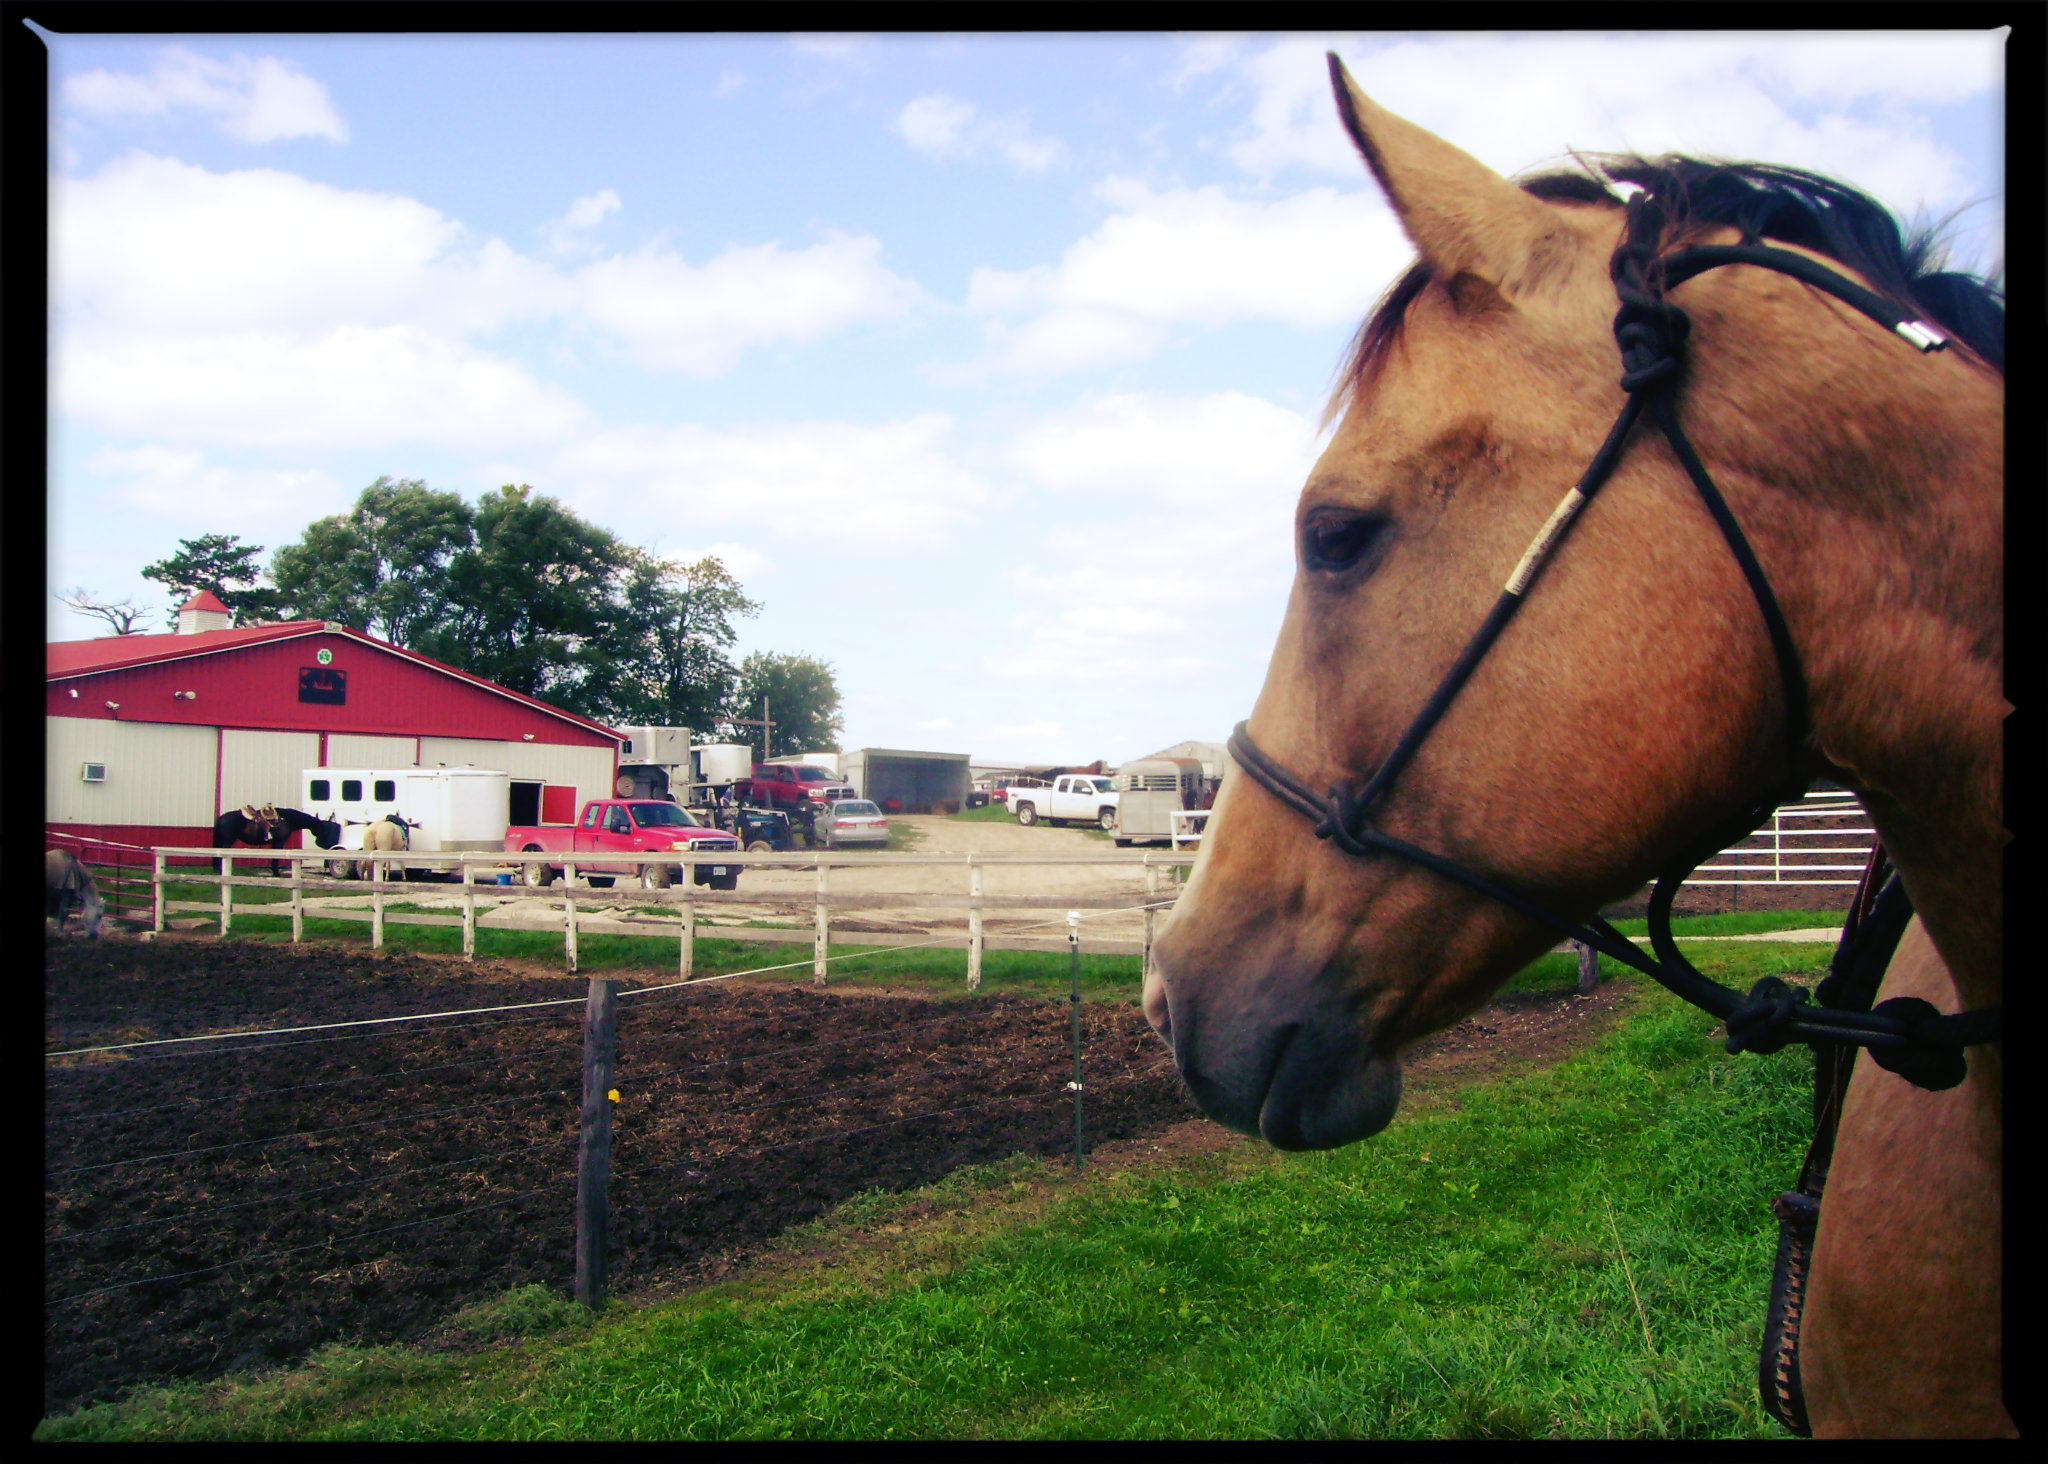
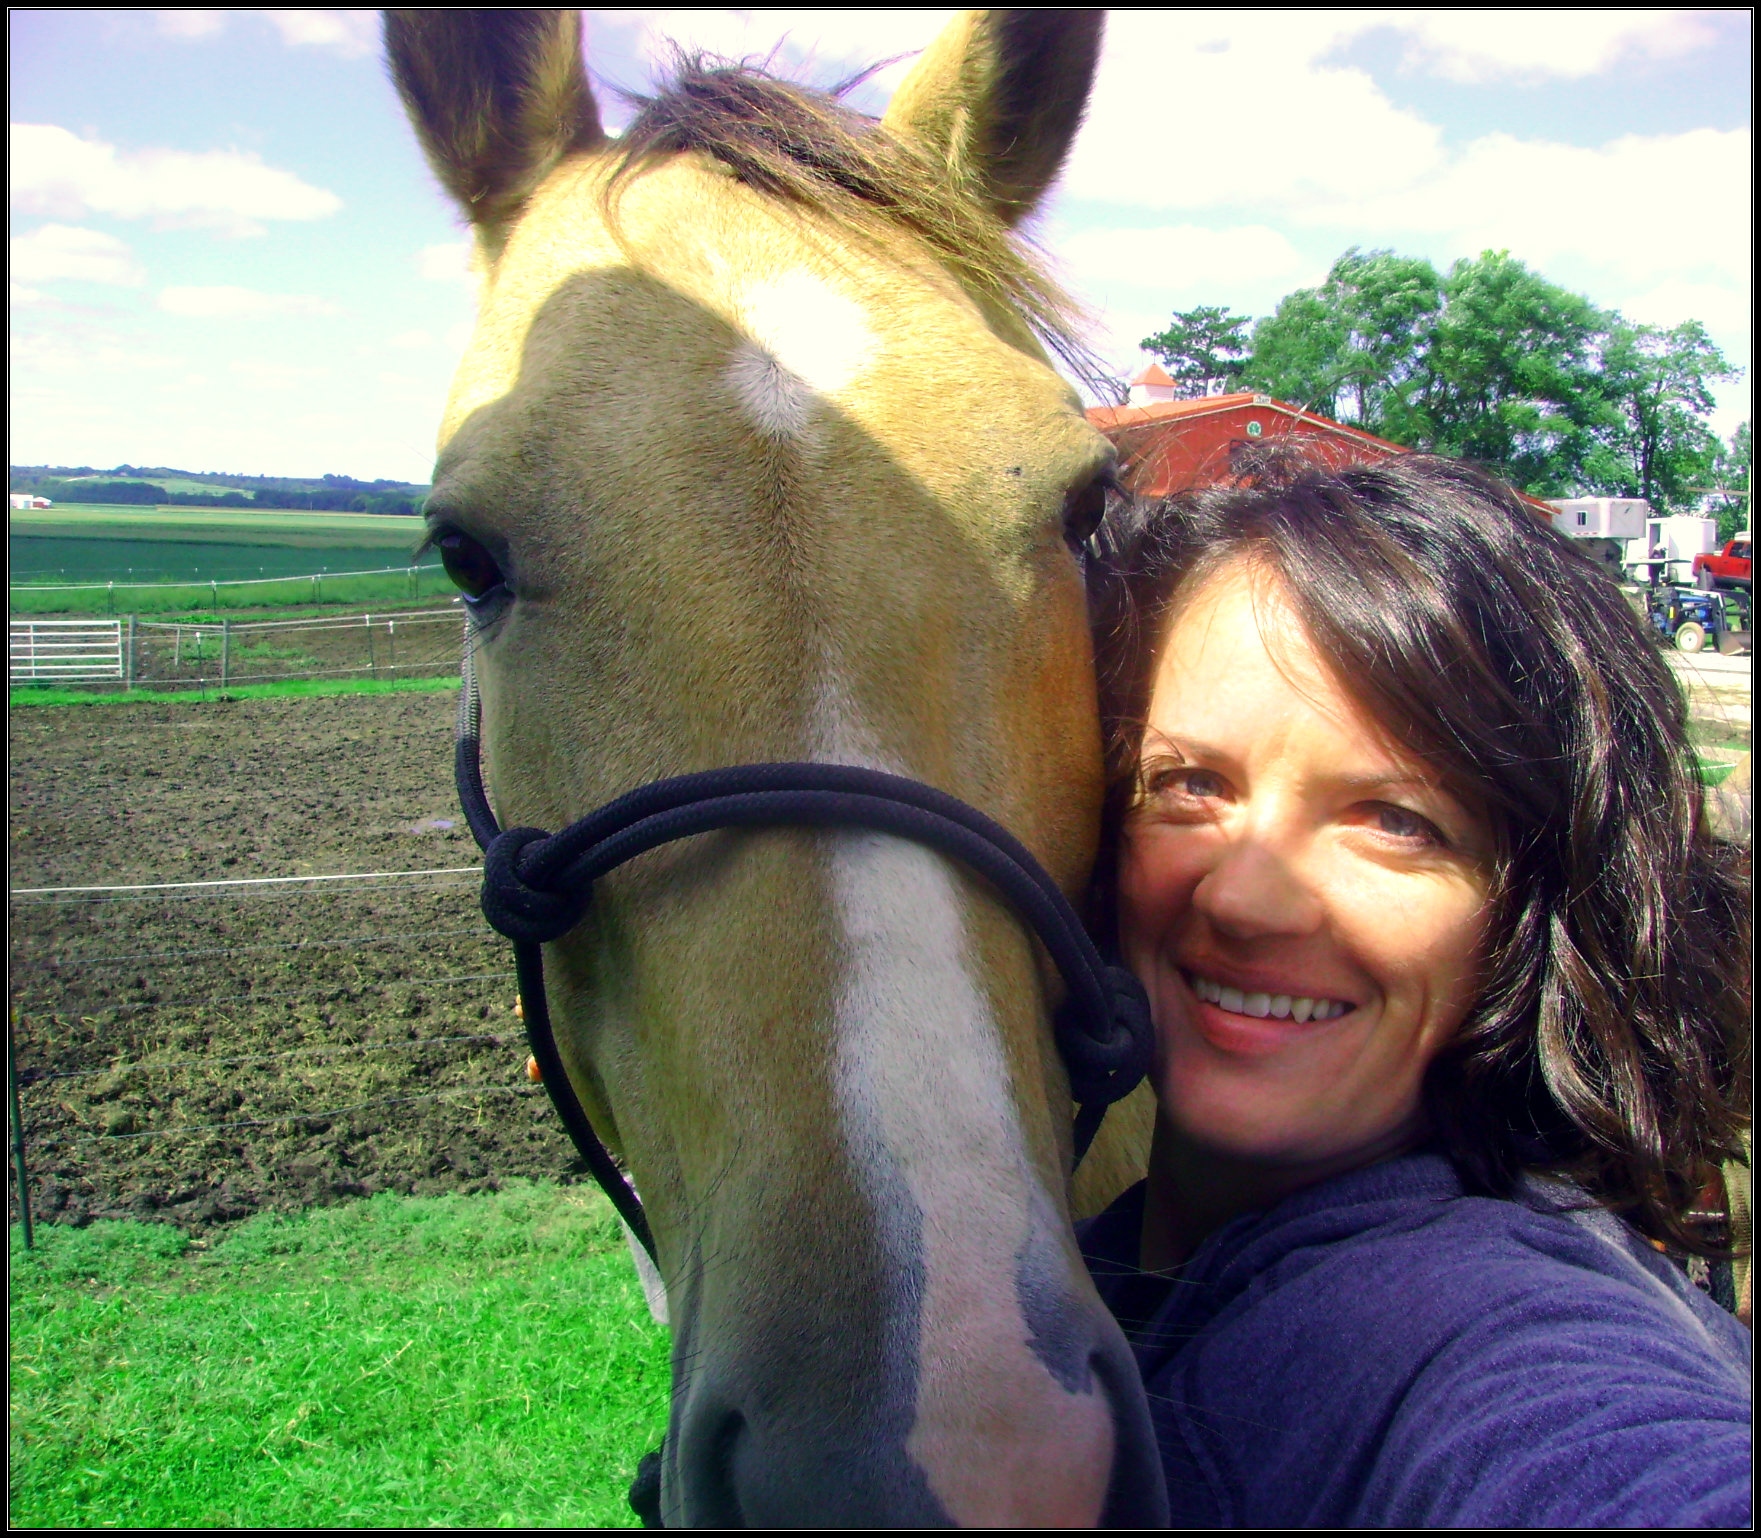
We had an hour break for lunch, during which I let Penny graze along the ditches while I ate the lunch I’d packed. Looking back in hindsight, I am chagrined at how shy I am, because I should have gone and talked to the other riders and gotten to know some new horse people. I just tend to keep to myself and tend to my own horse, rather than reach out to total strangers. I did ask some of the riders what they thought about what kind of bit we would be expected to ride in. Everyone of them said, “Ring snaffle.”
So I set about changing over my headstall and reins to a ring snaffle bit I had brought along, just in case. I usually ride Penny in a shanked snaffle—honestly because I feel more safe in it. The shanks provide a lot of stopping power, and since I’ve been bucked off a few times recently, I feel like a shanked bit gives me more control. But I understood that we would be doing a lot of circles and direct reining in this clinic, so I didn’t want to be the weird girl trying to direct rein her horse with a shanked bit!
When we were all saddled and mounted in the arena, Kip started teaching again. He rode a tall black Warmblood mare, which he said was not as well trained as the horse he had used in the groundwork session, but one that had had quite a bit of work. Most of what we did on horseback was a carbon copy of what we had done on the ground.
He told us to pick a spot in the arena and spread out so we weren’t interfering with each other, and ride in a small circle, maybe 12 to 15 feet diameter. He said to position our legs in a position to curve our horse in an arc…the outside leg forward (to guide the shoulder into the curve), and the inside leg back (to avoid pressure on the horse and give him an open space to turn into with his shoulder).
He told us there are four seat positions for riding a horse: #1: Sitting with your back pockets against the cantle of the saddle, which is your still position (“the horse should stop when you stop riding,” he said, meaning that when you sit like this in the saddle, your horse should stop its feet.) #2: Sitting up on your pelvic bones, in a riding position, with an upright body so that shoulders, hips, and lower legs are aligned and your weight is balanced in the saddle, and you are flexible to move and feel your horse’s movements (when you are in this position, the horse should be moving.) #3: Sitting forward and grabbing a handful of mane for balance if your horse is leaping a ditch or climbing a steep grade (he said in English riding or dressage this would be “two point” position.) #4: He jokingly referred to falling off as the fourth position, which you should avoid at all cost. He demonstrated all but the fourth to us, and told us to ride with the second position and encourage our horse to move out “with life in his feet”.
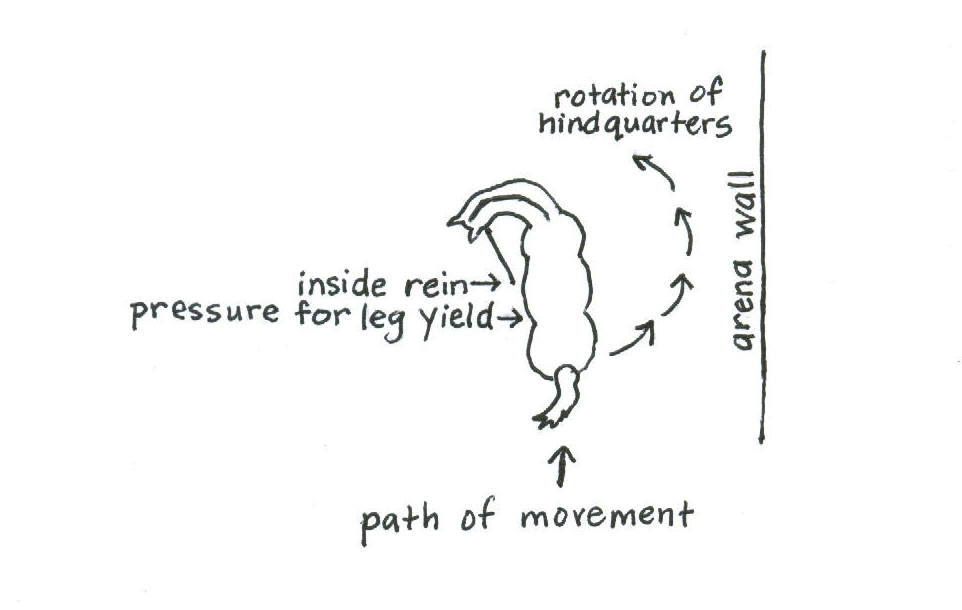
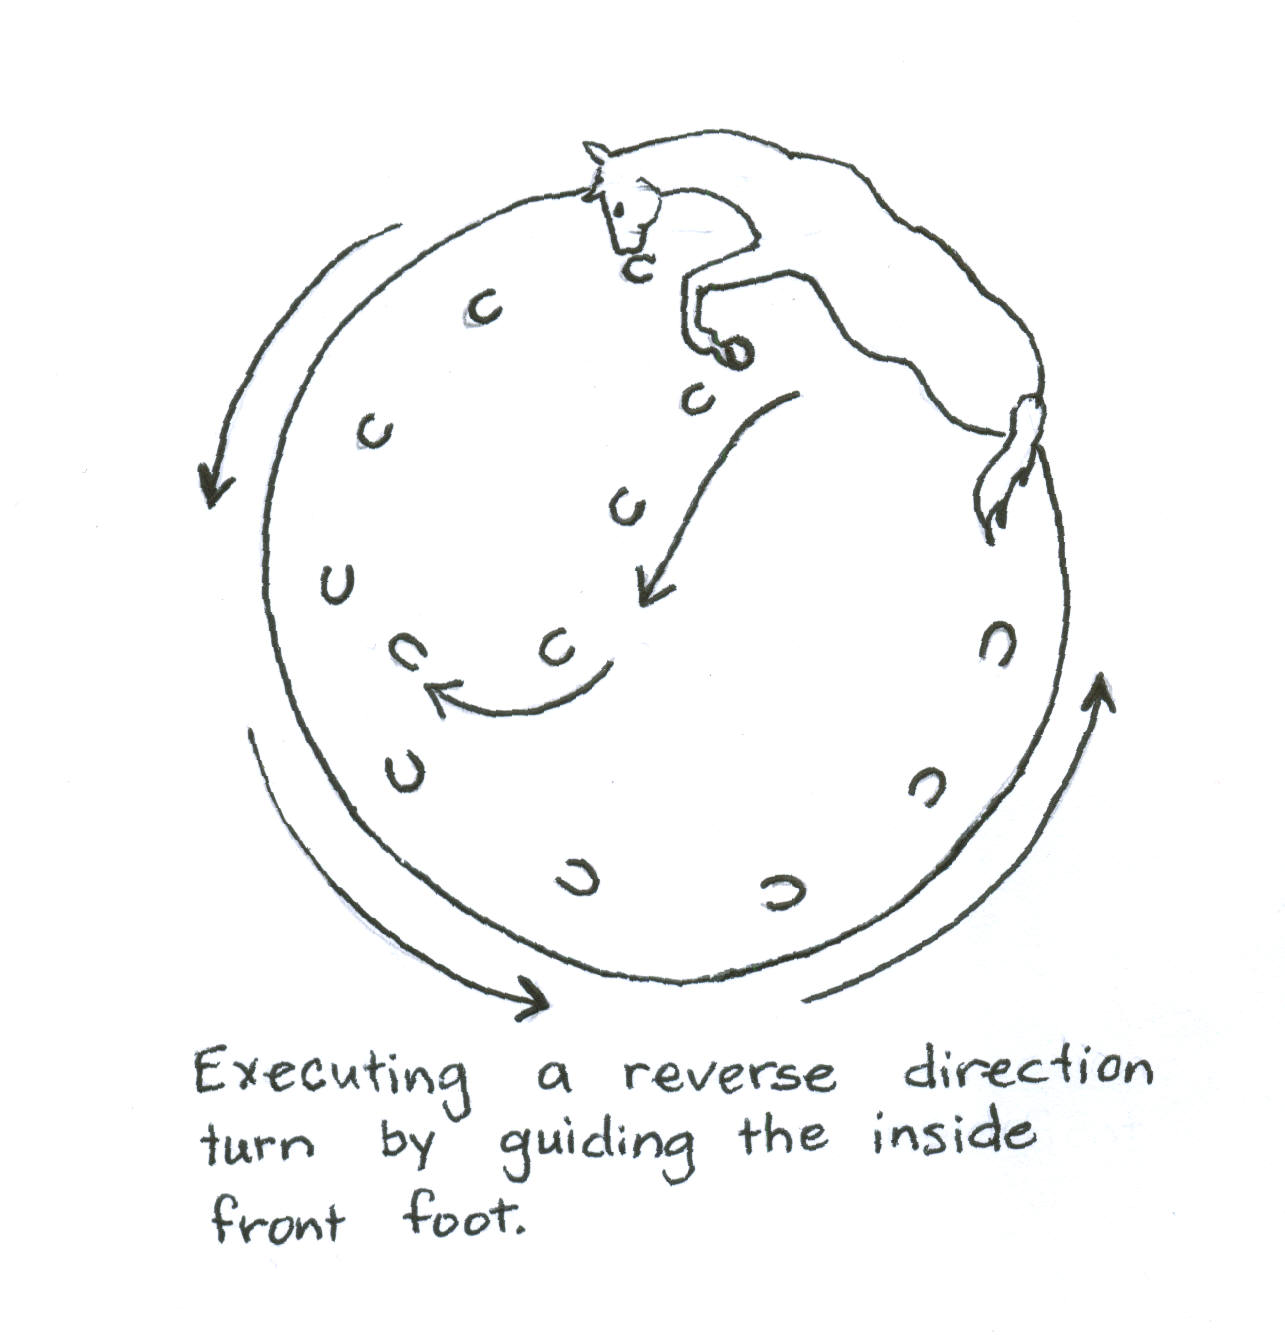 He directed us to move in a circle for a time, and then execute a turn to reverse in this manner: He said when the horse’s inside front foot falls back and he is lifting it to step again, use your inside rein to lift and place that inside front foot in a little deeper into the circle, so that it turns in to do a diagonal across the middle of your circle and then turn to go the opposite direction. He challenged us to do this smoothly, with fluidity, without losing pace or motion. We practiced this in both directions for at least half an hour. I was dizzy and had to stop a few times!
A lot of the riding involved him telling us to know where the horse’s feet are. So much of his timing depended on when the left hind foot was leaving the ground, or when the horse was lifting a certain foot, that is the time you ask for a change. So while these were relatively simple exercises, most of us weren’t doing them absolutely correctly, because we didn’t have the knowledge and experience necessary to know how to time it exactly.
He would instruct us to stop once in a while, with a “soft feel”. He said when you ask for a stop, you “quit riding” with your seat (return to position #1) and ask for a soft feel with the reins, in other words: apply rein pressure until the horse’s feet stop moving and the horse’s face is in a submissive position (no bracing against the reins, no open mouth, no stiff neck, no high-headedness). He wanted the horse’s ears level with the withers/pommel of your saddle, its chin tucked in slightly, and its mouth not pulling against the bit. He said as soon as you get that “soft feel”, release all pressure.
Often he would say, while we were circling the arena, “now get a soft feel and stop, then back up five steps”. He would also instruct us to ride “with a soft feel”, meaning to ask for the horse’s chin to tuck in but keep the walking pace steady. Penny failed at this one, because she is not used to being asked to walk forward with any backwards rein pressure at all, so it seemed like conflicting requests, to tighten the reins but make her keep walking. Kip’s horse did this beautifully, and would complete a full circle with her chin tucked nicely as she moved in a forward arc “with life in her feet”. Kip remarked that it is difficult for a horse to do this, and that you should only ask for it in short segments until they learn to ride “in a frame”.
We then worked on yielding the hindquarters. He had us ride the full oval of the arena, and would ask us to reverse direction by asking the horse to disengage the hindquarters in an inside turn, where you pick up the inside rein and use leg pressure behind the cinch to move the horse’s hindquarters around until you’re facing the opposite direction, and then ride on.
From that, we moved on to a complete 360-degree turn by having our horses yield the hindquarters for the first half, and then asking the horse to step across with the front end for the second half of the turn. The first time I asked Penny to do this, she executed it brilliantly, and Kip called out, “Great job, Kerrie, you’ve got it!” After that, it seemed like we couldn’t get it right again. The hindend yield went fine, but Penny started shuffling the front over in the second half of the turn, rather than step over with her outside leg and come around smoothly. Kip told us to move our inside rein hand back, towards our hip, to keep the front end from stepping in with the inside leg and shuffling, when what you really wanted is the outside front to come across in front of the inside front, and grab ground and really pull you around and go. It definitely gave us something to work towards, for the remainder of the session.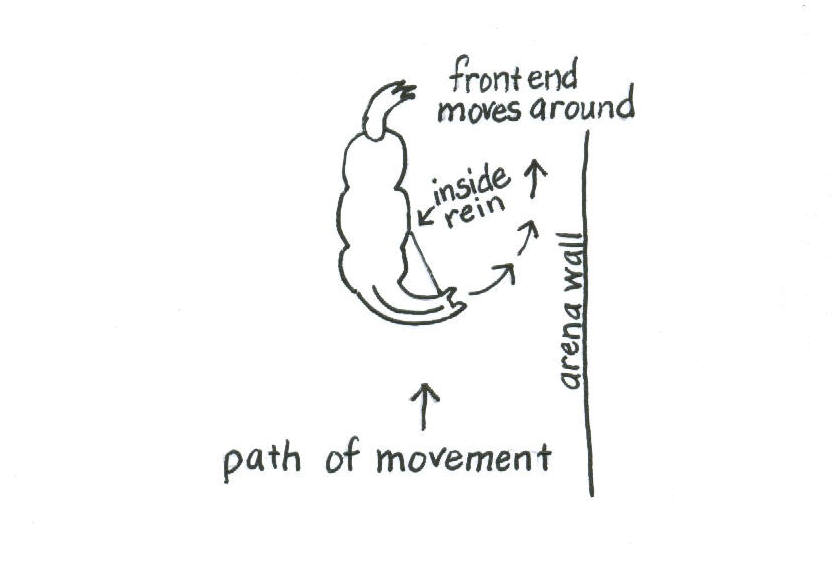
It brought to mind a lesson I had with Kevin Wescott, when I was just a teenager. The day before, I had brought in an unbroken three year old filly, Belle, from the pasture, and saddled her up and got on her and she bucked me off. Got on again, and repeat. (I was fearless back then!) So I called Kevin Wescott, and he said, “Bring her over.” Belle and I went to Kevin’s the next day, and he rode his horse in the round pen and worked her just a little bit under saddle, and then he had me get on. No buck. She was amazing that day, being controlled by Kevin while I did little else but hang on.
But I didn’t even realize the things we worked on that day were pretty much the same principle. He had me circle the round pen, then ask for a turn to the inside with a direct rein, and as Belle turned to the inside, he would ride up towards the front of her and swish his training flag at her outside leg as she turned. She would whirl around with her front end in the air like a cutting horse. I still remember Kevin saying, as she turned, “Aaaand RELEASE!” Meaning that as she gave to the pressure of the direct rein, I was to release when she obeyed. Belle became one of our best riding horses for ranch work, and she now in her twenties, living out at Dad and Mom’s ranch in Idaho.
I think the principles that were taught at the Kip Fladland clinic were really good. I wish that he gave private lessons, because I have several horses that would benefit from some strict riding, and I need the constant reminders. But I will read these articles again, as I work with each horse, and hope to continue to learn along with my horses.